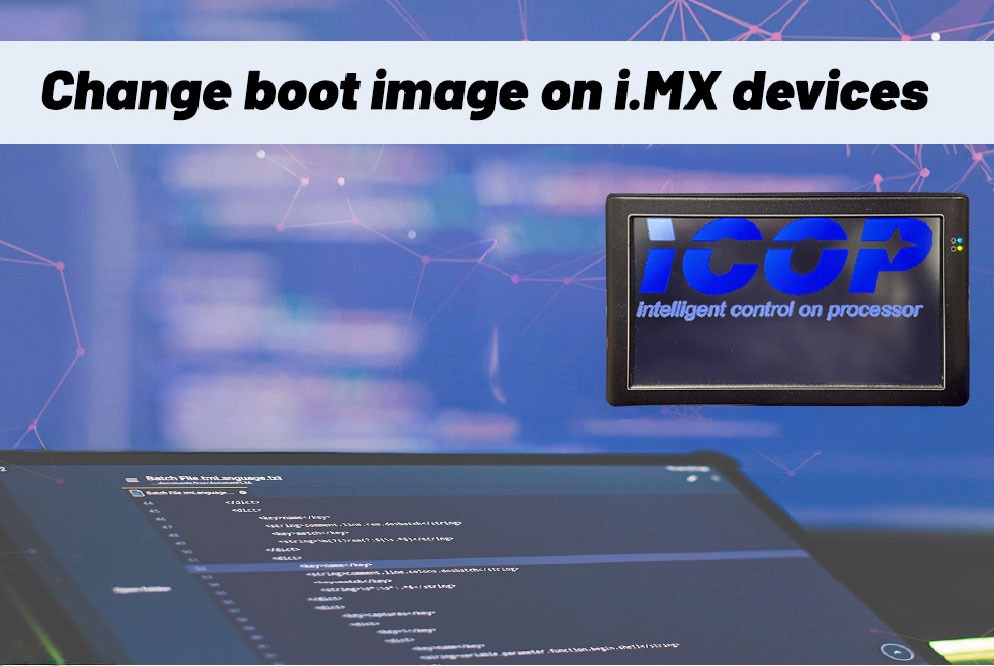
本文將說明如何變更 i.MX 系列裝置系統的標題標誌/照片。
在ICOP提供的標準映像中,無論使用Yocto Linux或Android系統,標題標誌/照片始終顯示為Linux標誌,但此設定可透過簡單步驟進行修改。
在以下提示中,我們將逐步提供指引。
您需要的工具:
- i.MX 系列產品如 NX8MM-35 / PN8M-090T / EBOX-IMX8MM
- 在本篇技巧中,我們以 PN8M-090T 為例進行說明。
- Yocto Linux 4.0:配方(從我們的 Wiki 中尋找)
- 您的標誌/照片的圖像檔案
- 用於建立映像的作業系統:Ubuntu 22.04 或更新版本
1. 製作具有224色的ppm影像檔案
首先,準備一個自訂開機映像檔,並將其轉換為 Linux 相容的 PPM 檔案(該映像檔應以 ASCII 格式儲存,副檔名為 .ppm,且最多支援 224 色)。
請按照以下步驟將圖片轉換為正確格式:
1. 使用 pngtopnm 將 .png 檔案轉換為 .pnm 檔案。
pngtopnm xxxx.png>linuxlogo.pnm
(xxxx=您的檔案名稱)

2. pnmquant 224 將顏色轉換為 224 色
pnmquant 224 linuxlogo.pnm>linuxlogo224.pnm

3. pnmtoplainpnm 用於將 .pnm 檔案轉換為 .ppm 檔案。
pnmtoplainpnm linuxlogo224.pnm>logo_linux_clut224.ppm

透過上述步驟,我們可以將PNG檔案轉換為224色的.ppm檔案。
2. 替換舊的開機映像檔並建立映像檔
在此情況下,我們假設使用者已知曉如何透過配方建立映像檔,且已具備配方檔案。
若配方檔案尚未實作,請參閱 此處 範例。
1. 將 logo_linux_clut224.ppm 複製至標誌檔案。
cp logo_linux_clut224.ppm kernel-source/drivers/video/logo
kernel-source/drivers/video/logo 是相對路徑,在此情況下,確切位置為:
/home/user/imx-yocot-bsp/build-dmp/tmp/work-sahred/dm421/kernel-source/drivers/video/logo

確切位置將根據用戶的設定而有所不同。
2. 替換標誌檔後,請在建立映像設定環境後執行下方 bitbake 指令,以編譯食譜中的 linux-imx。(請參閱步驟 7 ~9 此處 用於設定環境。)
bitbake -c compile -f linux-imx

3. 透過 bitbake 產生映像檔
bitbake imx-yocto-multimedia

在此情況下,我們採用 imx-yocto-multimedia 映像,使用者可自行決定欲生成的映像類型;詳細資訊如下:
| 圖片名稱 | 目標 |
| core-image-minimal | 一個緊湊的映像檔,可讓裝置以最低限度功能啟動。 |
| core-image-base | 僅限主機使用的映像檔,可確保與目標裝置硬體的完全相容性。 |
| core-image-sato | 一張展示 Sato 行動環境的圖片,呈現視覺風格及包含終端機、編輯器與檔案管理器等行動應用程式。此環境採用 Sato 主題並整合 Pimlico 應用程式。 |
| imx-image-core | 基於 i.MX 的映像檔,內含 i.MX 測試應用程式,專為 Wayland 後端設計。此映像檔用於 i.MX 裝置的日常核心測試。 |
| fsl-image-machine-test | 來自 FSL 社群的 i.MX 核心映像檔,提供僅限控制台的環境,無圖形使用者介面。 |
| imx-image-multimedia | 一個具備圖形使用者介面(GUI)的 i.MX 映像檔,但不含任何 Qt 內容。 |
| imx-image-full | 一款基於開源 Qt 5 的映像檔,整合了機器學習功能。此映像檔專為具備硬體圖形支援的 i.MX 系統單晶片設計,不適用於 i.MX 6UltraLite、i.MX 6UltraLiteLite、i.MX 6SLL 及 i.MX7Dual 型號。 |
參考:NXP 的 i.MX Yocto Project 使用者指南
4. 將您建立的映像檔還原至裝置
5. 將映像檔還原至裝置後,您將在啟動裝置時看到開機畫面

相關產品

| 型號名稱 | PN8M-090T | EBOX-IMX8MM | NX8MM-35 | VOX Series Openframe |
| CPU | i.MX 8M Mini 四核心 ARM Cortex-A53,最高可達 1.6/1.8GHz | |||
| 記憶體 | 最高支援 4GB LPDDR4 | |||
| 儲存裝置 | 最高支援 64GB eMMC | |||
| 輸出 | 9吋 TFT 1024×600 解析度液晶顯示器 配備電阻式或電容式觸控螢幕 IP65防水防塵等級 | HDMI | HDMI/LVDS | 7″ LCD 1024×600 8.4″ LCD 800×600 9″ LCD 1024×600 10.4″ LCD 800×600 15″ LCD 1024×768 |
| 連接性 | GLANx1、USB x2、COMx1、藍牙與無線網路、MiniPCIe 及 HD Audio | GLANx2、USB x3、COMx4、藍牙與無線網路、MiniPCIe 及 HD Audio | GLANx2、USB x4、COMx4、I2C、SPI、GPIO、藍牙與無線網路、MiniPCIe 及 HD Audio | 8.4″, 10.4″ and 15″: GLANx2、USB x4、COMx3、I2C、GPIO、藍牙與無線網路、MiniPCIe 及 HD Audio 7″ & 9″: GLANx1、USB x2、COMx1、藍牙與無線網路、MiniPCIe 及 HD Audio |
如果想了解相關資訊及需求,請點選訊息於此處 info@icop.com.tw,或致電離您最近的 ICOP 分公司,或聯繫我們的 全球授權經銷商.

![[Technical Tips] Upload the LCD BIOS by using the batch file to the VDX boards](https://icop-shop.com/wp-content/uploads/2026/02/Technical-Tips-Upload-the-LCD-BIOS-by-using-the-batch-file-to-the-VDX-boards-300x201.png)
![[Technical tips] Start Guides for QEC-M-01 and SANYO DENKI SANMOTION G Series (CSP PP)](https://icop-shop.com/wp-content/uploads/2026/02/Technical-tips-Start-Guides-for-QEC-M-01-and-SANYO-DENKI-SANMOTION-G-Series-CSP-PP-300x201.png)