
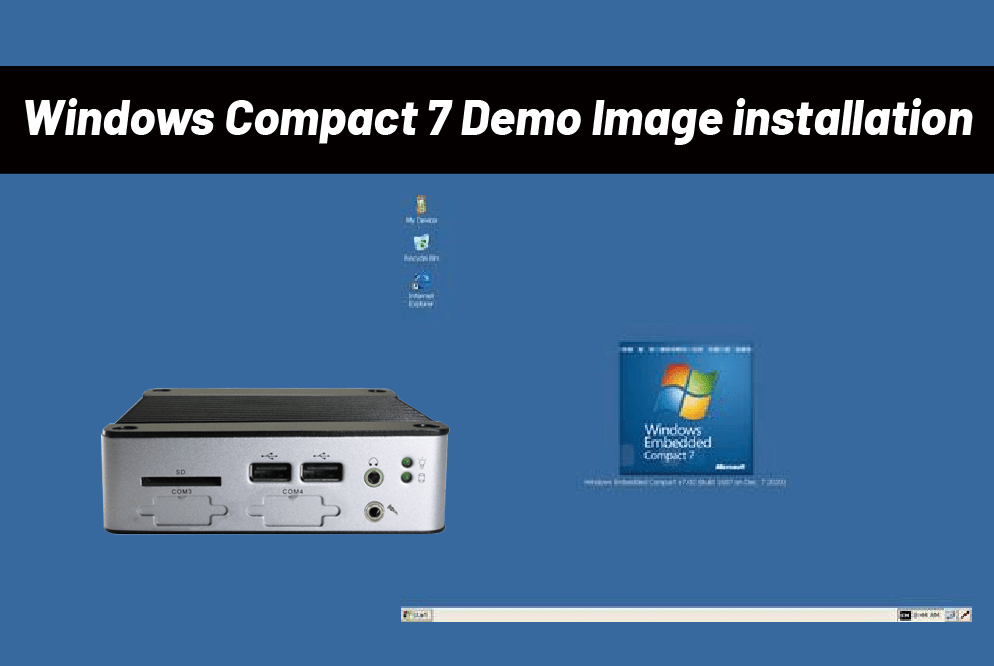
This article provides a step-by-step guide on installing the Windows Embedded Compact 7 Demo Image on a EBOX-335x / 336x series Mini PC. We will cover everything from preparing the environment and flashing the image to the actual installation and driver testing, ensuring a smooth setup of Windows Embedded Compact 7. This guide will help you quickly understand the installation process and get Windows Embedded Compact 7 running smoothly on the device.
![[Technical Tips] Windows Embedded Compact 7 Demo Image installation with EBOX-335x / 336x series Mini PC](https://icop-shop.com/wp-content/uploads/2025/10/image.png "[Technical Tips] Windows Embedded Compact 7 Demo Image installation with EBOX-335x / 336x series Mini PC")
Hardware Preparation
To install the Windows Embedded Compact 7 Demo Image on a EBOX-335x / 336x series Mini PC, you will need the following hardware:
- EBOX-335x / 336x series Mini PC
- Storage drive (16GB to 64GB capacity)
- Compact PC for running Ghost32 to restore the image
Software Preparation
- EBOX-335x / 336x Windows Embedded Compact 7 demo image
- EBOX-335x / 336x_compact_7_demo_image_sdk_project_file_bsp_package
Step 1: Configuring the BIOS Setting
Before the EBOX-335x / 336x series Mini PC starts to install the Windows Embedded Compact 7 demo image, please go to configure the BIOS.
1. Boot up the EBOX PC and press the DEL to entrance the BIOS
![[Technical Tips] Windows Embedded Compact 7 Demo Image installation with EBOX-335x / 336x series Mini PC](https://icop-shop.com/wp-content/uploads/2025/10/image-2.png "[Technical Tips] Windows Embedded Compact 7 Demo Image installation with EBOX-335x / 336x series Mini PC")
2. Move to root Advanced to enter the IDE Configuration
![[Technical Tips] Windows Embedded Compact 7 Demo Image installation with EBOX-335x / 336x series Mini PC](https://icop-shop.com/wp-content/uploads/2025/10/image-3.png "[Technical Tips] Windows Embedded Compact 7 Demo Image installation with EBOX-335x / 336x series Mini PC")
3. Select the IDE Operate Mode and choose the Native Mod
![[Technical Tips] Windows Embedded Compact 7 Demo Image installation with EBOX-335x / 336x series Mini PC](https://icop-shop.com/wp-content/uploads/2025/10/IDE-Configuration-Native-Mode.jpg "[Technical Tips] Windows Embedded Compact 7 Demo Image installation with EBOX-335x / 336x series Mini PC")
4. Select the IDE Compatibility to Enabled
![[Technical Tips] Windows Embedded Compact 7 Demo Image installation with EBOX-335x / 336x series Mini PC](https://icop-shop.com/wp-content/uploads/2025/10/IDE-Compatibility-Enabled.jpg "[Technical Tips] Windows Embedded Compact 7 Demo Image installation with EBOX-335x / 336x series Mini PC")
5. Move to the USB Configuration
![[Technical Tips] Windows Embedded Compact 7 Demo Image installation with EBOX-335x / 336x series Mini PC](https://icop-shop.com/wp-content/uploads/2025/10/USB-Configuration.jpg "[Technical Tips] Windows Embedded Compact 7 Demo Image installation with EBOX-335x / 336x series Mini PC")
6. Choose the Legacy USB Support set to Disabled
![[Technical Tips] Windows Embedded Compact 7 Demo Image installation with EBOX-335x / 336x series Mini PC](https://icop-shop.com/wp-content/uploads/2025/10/Legacy-USB-Support-Disable.jpg "[Technical Tips] Windows Embedded Compact 7 Demo Image installation with EBOX-335x / 336x series Mini PC")
7. Press the F10 to Save and Exit
![[Technical Tips] Windows Embedded Compact 7 Demo Image installation with EBOX-335x / 336x series Mini PC](https://icop-shop.com/wp-content/uploads/2025/10/F10.jpg "[Technical Tips] Windows Embedded Compact 7 Demo Image installation with EBOX-335x / 336x series Mini PC")
Step 2: Embedded Compact 7 Demo Image restoration on Personal Computer
1. Unzip the EBOX-335x / 336x_compact_7_demo_image_sdk_project_file_bsp_package and choose the EBOX-335x / 336x Series Demo Image
![[Technical Tips] Windows Embedded Compact 7 Demo Image installation with EBOX-335x / 336x series Mini PC](https://icop-shop.com/wp-content/uploads/2025/10/Compact-7-File-1.png "[Technical Tips] Windows Embedded Compact 7 Demo Image installation with EBOX-335x / 336x series Mini PC")
2. Unzip the EBOX-335x / 336x Windows Embedded Compact 7 demo image
![[Technical Tips] Windows Embedded Compact 7 Demo Image installation with EBOX-335x / 336x series Mini PC](https://icop-shop.com/wp-content/uploads/2025/10/Unzip-the-package.png "[Technical Tips] Windows Embedded Compact 7 Demo Image installation with EBOX-335x / 336x series Mini PC")
3. Select the ghost32.exe file to restore the CE70_BOOT.GHO
![[Technical Tips] Windows Embedded Compact 7 Demo Image installation with EBOX-335x / 336x series Mini PC](https://icop-shop.com/wp-content/uploads/2025/10/ghost32.png "[Technical Tips] Windows Embedded Compact 7 Demo Image installation with EBOX-335x / 336x series Mini PC")
4. Execute the ghost32.exe and click OK
![[Technical Tips] Windows Embedded Compact 7 Demo Image installation with EBOX-335x / 336x series Mini PC](https://icop-shop.com/wp-content/uploads/2025/10/ghost32-and-click-ok.png "[Technical Tips] Windows Embedded Compact 7 Demo Image installation with EBOX-335x / 336x series Mini PC")
5. Select the Local > Disk > From Image
![[Technical Tips] Windows Embedded Compact 7 Demo Image installation with EBOX-335x / 336x series Mini PC](https://icop-shop.com/wp-content/uploads/2025/10/Restore-the-ghost-file.png "[Technical Tips] Windows Embedded Compact 7 Demo Image installation with EBOX-335x / 336x series Mini PC")
6. Choose the CE70_BOOT.GHO
![[Technical Tips] Windows Embedded Compact 7 Demo Image installation with EBOX-335x / 336x series Mini PC](https://icop-shop.com/wp-content/uploads/2025/10/CE70_BOOT.png "[Technical Tips] Windows Embedded Compact 7 Demo Image installation with EBOX-335x / 336x series Mini PC")
7. Click the storage to restore
![[Technical Tips] Windows Embedded Compact 7 Demo Image installation with EBOX-335x / 336x series Mini PC](https://icop-shop.com/wp-content/uploads/2025/10/choose-storage.png "[Technical Tips] Windows Embedded Compact 7 Demo Image installation with EBOX-335x / 336x series Mini PC")
8. Select the Continue to complete
![[Technical Tips] Windows Embedded Compact 7 Demo Image installation with EBOX-335x / 336x series Mini PC](https://icop-shop.com/wp-content/uploads/2025/10/Continue.png "[Technical Tips] Windows Embedded Compact 7 Demo Image installation with EBOX-335x / 336x series Mini PC")
9. Move to Windows Embedded Compact 7 demo image folder and copy the corresponding NK.bin file
![[Technical Tips] Windows Embedded Compact 7 Demo Image installation with EBOX-335x / 336x series Mini PC](https://icop-shop.com/wp-content/uploads/2025/10/Copy-NK.bin_.png "[Technical Tips] Windows Embedded Compact 7 Demo Image installation with EBOX-335x / 336x series Mini PC")
10. Copy and paste to the boot disk
![[Technical Tips] Windows Embedded Compact 7 Demo Image installation with EBOX-335x / 336x series Mini PC](https://icop-shop.com/wp-content/uploads/2025/10/Storage-created.png "[Technical Tips] Windows Embedded Compact 7 Demo Image installation with EBOX-335x / 336x series Mini PC")
Step 3: Boot up Windows Embedded Compact 7 Demo Image from the storage
1. Boot the EBOX Power to complete the installation of the Windows Embedded Compact 7
2. Result
![[Technical Tips] Windows Embedded Compact 7 Demo Image installation with EBOX-335x / 336x series Mini PC](https://icop-shop.com/wp-content/uploads/2025/10/WinCE7-Desktop.jpg "[Technical Tips] Windows Embedded Compact 7 Demo Image installation with EBOX-335x / 336x series Mini PC")
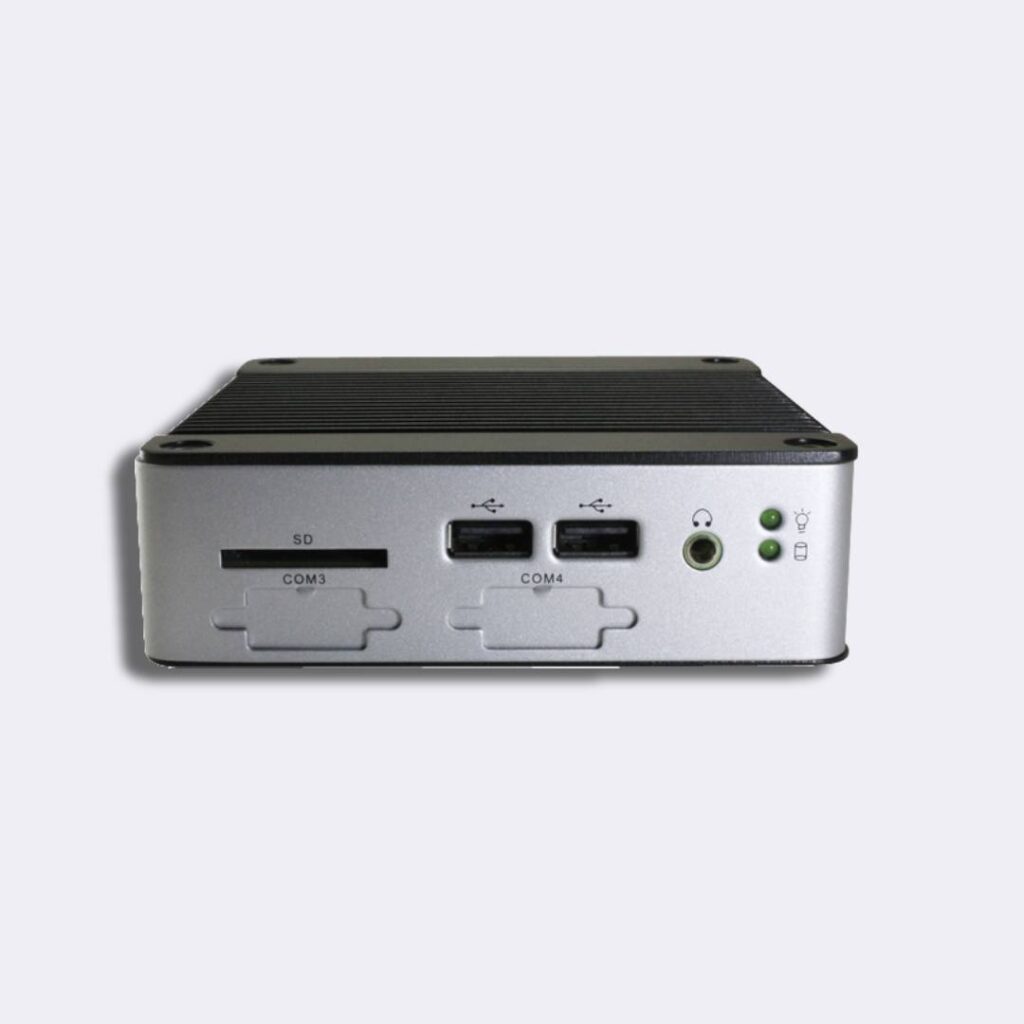
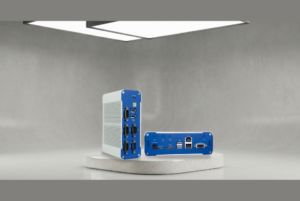
Main features of EB-3362-L2C2:
- DM&P 32ビットx86 Vortex86DX3 Dual Core1.0GHz SoC
- 2GB DDR3-1600MHz搭載
- SDカードスロット×1(SD、SDXC)、1GbpsLAN×1、10/100Mbps LAN×1、USB×4(前面×2、背面×1、内部×1)、ライン出力×1、RS-232×2
- 自動電源オン対応
- PXEディスクレスブートのサポート
- DC +8V ~ +24V
- 工作温度: 0~+60°C
詳細情報およびサンプルのご依頼については、以下までお問い合わせください。 info@icop.com.tw, 最寄りの以下へお問い合わせください。 ICOP支店に, or contact our 世界公式代理店.
 English
  繁體中文
繁體中文  日本語
日本語